Doc
11 minutes
Documentation how to use tailwind cms blog , installation and settup website SEO
Documentation,tailwind,taiwind blog,tailwind cms

How to install and run tailwind blog cms on your site
after you have order and purchase this project so you can download source code files,Order Now →
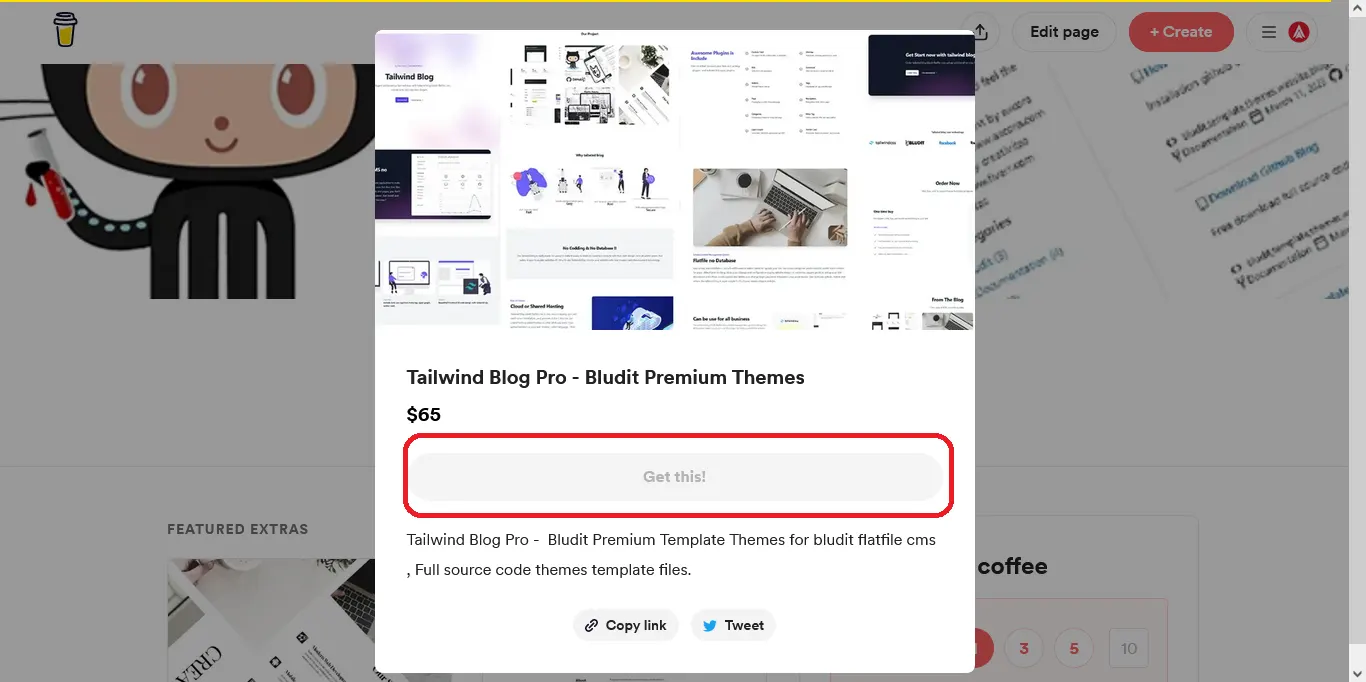
Direct order with - click get this
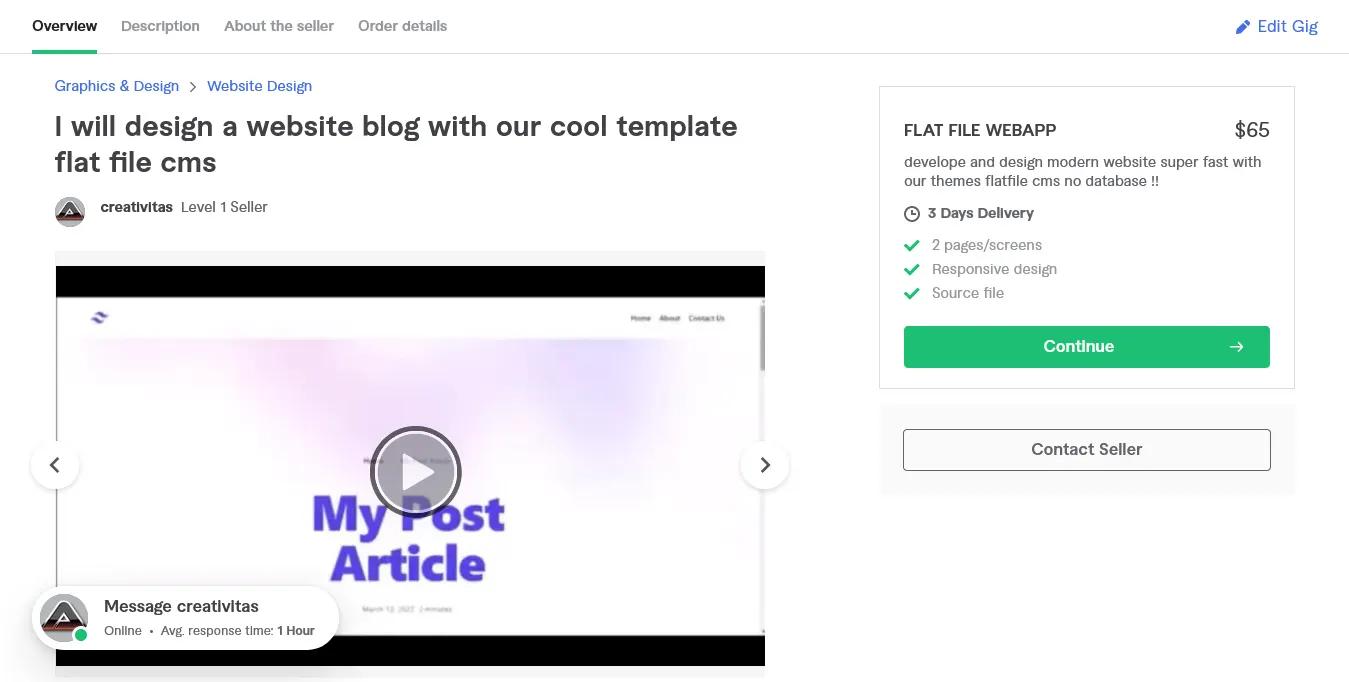
Click order on our fiverr - click continue
and we have two options for installation, first with bl-themes if you have run bludit project before, and second we create bundle installation , so you just need run installation only.
1. installation on bludit project use bludit-themes folder from tailwind blog source code files.
2. Installation fresh project use installer folder form tailwind blog source code files
+ Fast settup installation on bludit project:
- 1. For first you need to know if this project is run with bludit flat file cms, so you can download bludit → and install on your site project, or you can run our installation on source code project after you have create order.
- 2. After you have install bludit on your host, now you can order this premium themes bludit - click order and download source code files.
- 3. For run tailwind cms blog so you need to login on hosting panel, and upload tailwind blog cms premium themes in to your bluditsite/bl-themes.
- 4. Extract all files on tailwind folder inside bl-themes.
- 5. Plugins Extra is include for make your site better, so open on source code project, then upload all plugins-extra in to your bluditsite/bl-plugins.
- 6. Now we need to activate themes and plugins, so visit on your admin panel, open web browser and accsess on yoursite/admin , login with your username and password, then click on themes - click activate tailwind.
- 7. For make your site great peform so you need to activate all tailwind plugins, and activate SEO plugins - RSS, Sitemap , Twitter card , Open graph.
- 8. Work with landing page design - you need to copy customfield.txt file on source code ,and paste to admin panel on Settings - General - Custom Fields.
- 9. Now we need to use sticky post, so you can create new content for your home page post, then click on options in article form - insert description for your post, click advance tab insert your tag and others, then switch to custom - and you can design your tailwind landing page in here. just insert text and URL image for design your tailwind blog cms landing page design.
+ Fresh Installation new website project
- 1. Upload Source code project on your website project, for example if you need to install on main domain so you can upload on root or public_html folder, if you want install on sub domain so you need create sub domain and upload source code project on your sub domain, for installation on directori, so you can create new folder and name it with your directori site you want, and upload tailwind blog installer in here.
- 2.
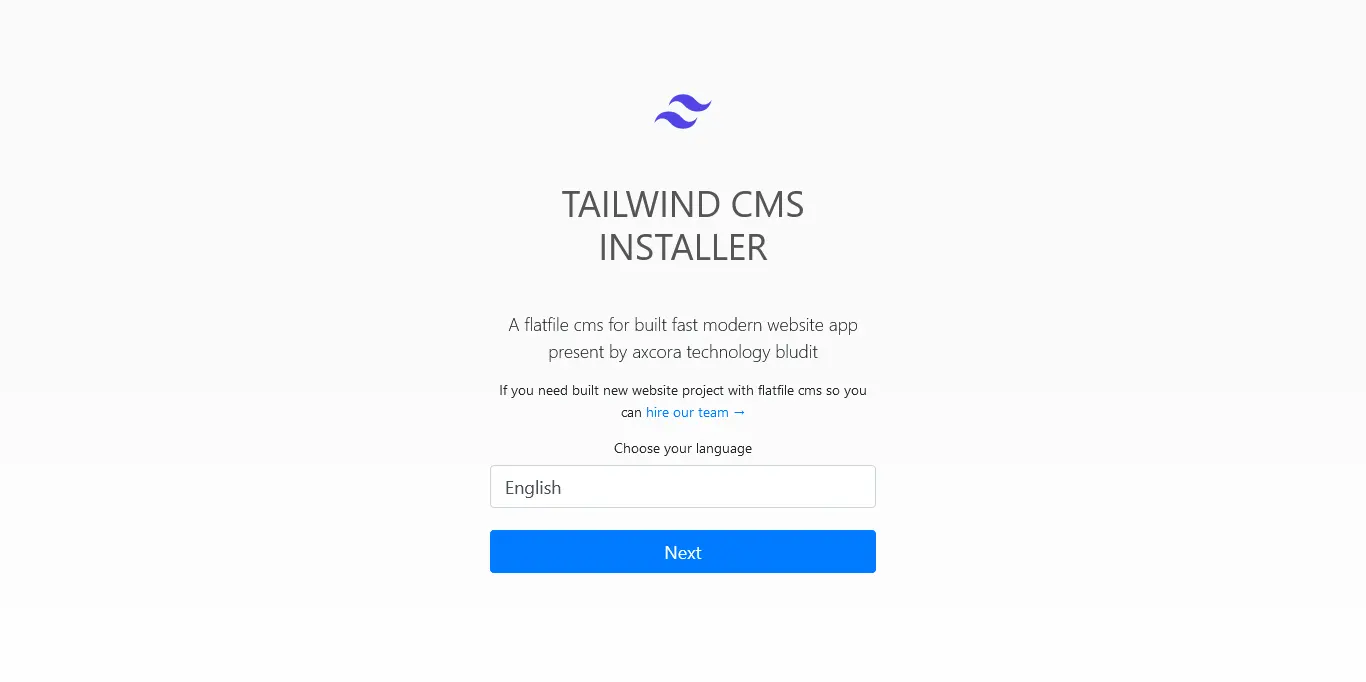
After you have upload tailwind installer on your main,sub or directori now you can accsess url location, for example main domain is visit on myweb.com , and you will see installation - then select your language and click next button for run this tailwind blog bludit flatfile cms 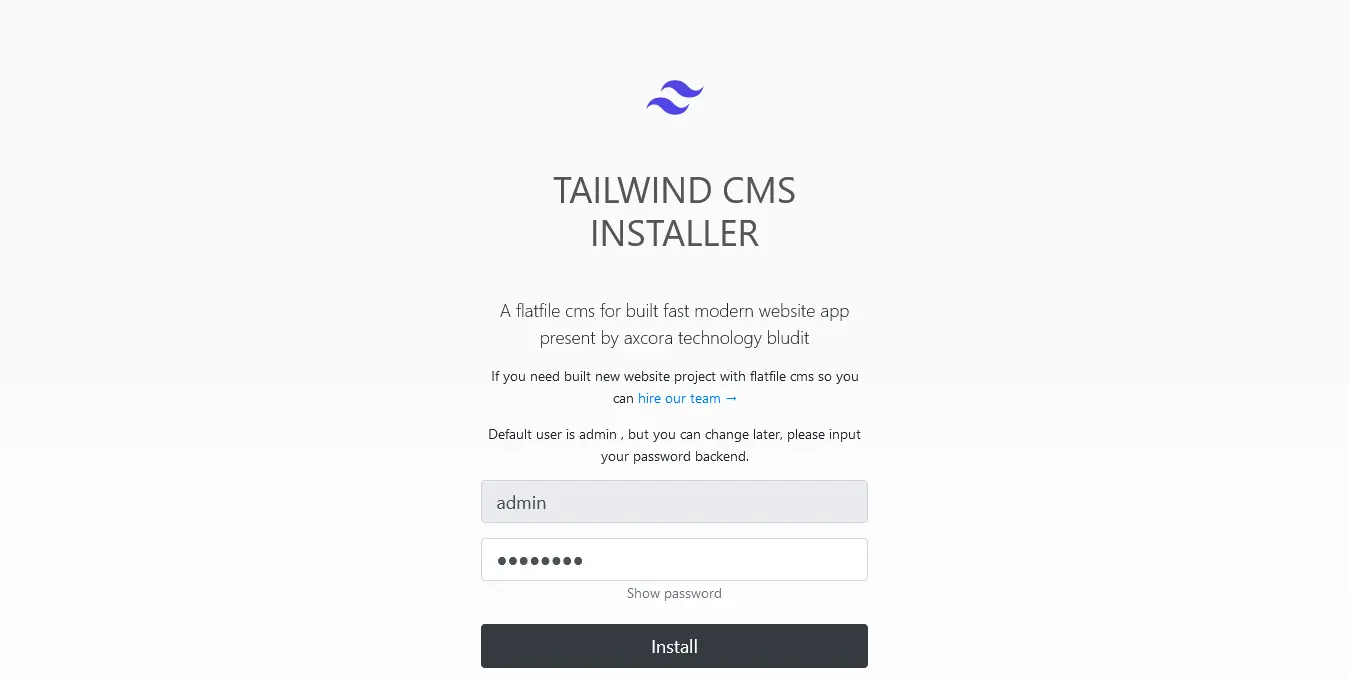
After you click next button now you can insert your password for login in backend admin area, be default user is admin, but you can delete and create new user after you have run installation.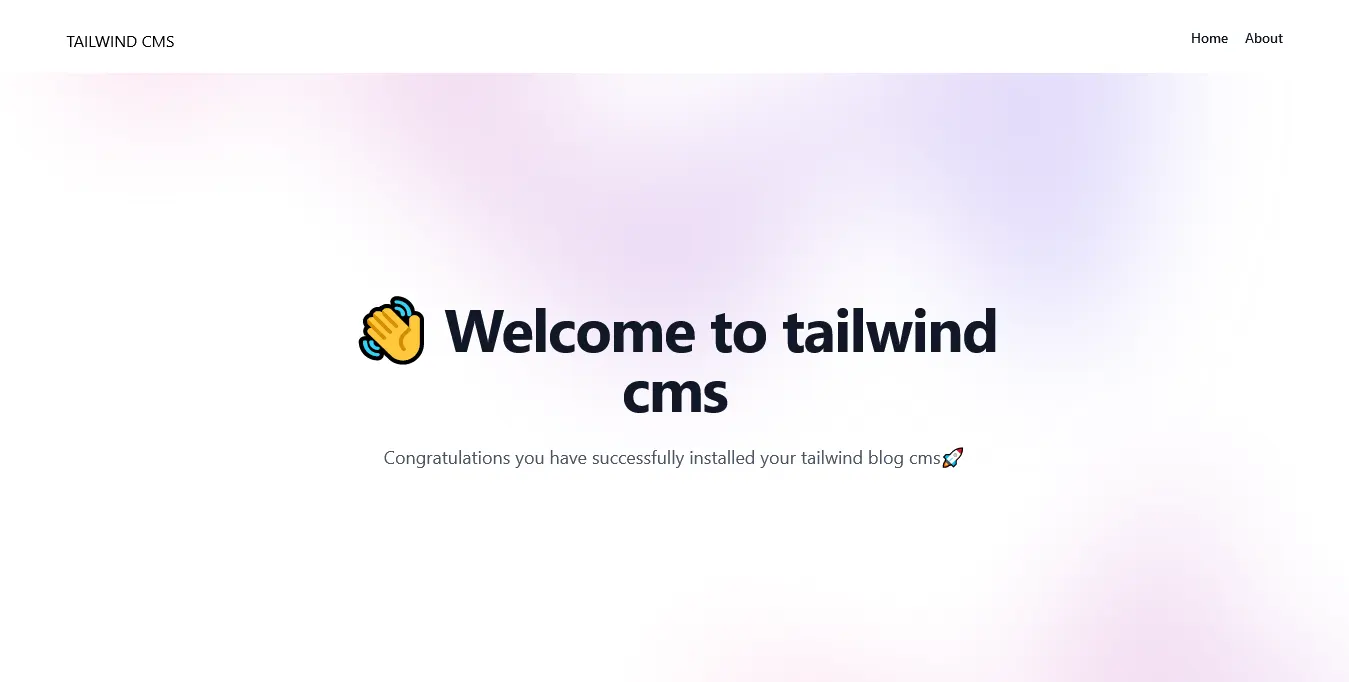
Congratulations now you have run tailwind blog cms in your site !!
And now we need to configure your site for make it your site better on landing page design UI.
Now you can visit on admin area just visit on yoururlwebsite/admin , then login with your username and password.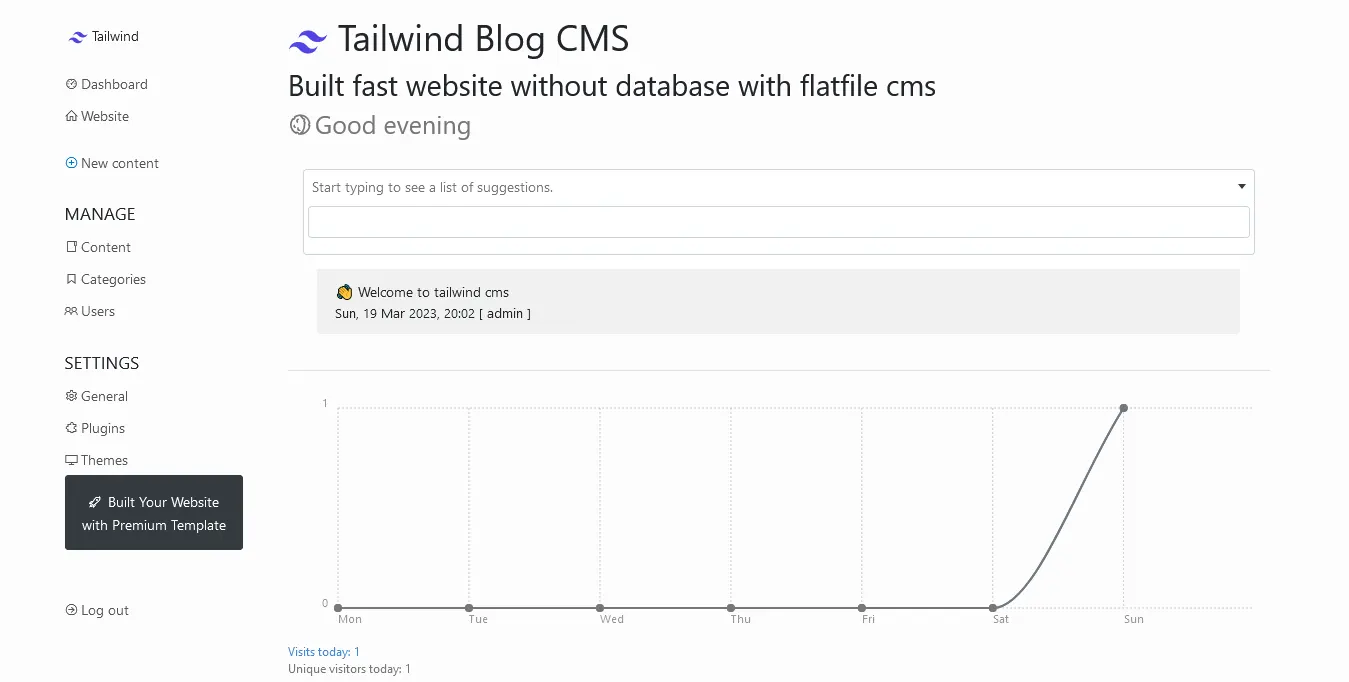
After you have login you will see admin dashboard area, for first of course we need to configure and settup your site. but before we settup, you can open your source code project and you need to open customfield.txt with text editor and copy all code.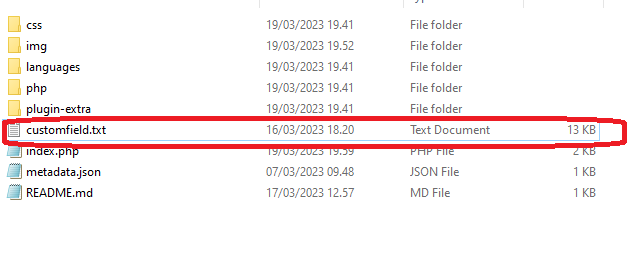
Open source code tailwindblog project and you can see customfield.txt files in here, now open with text editor like notepad for example.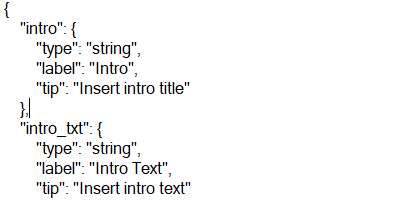
And copy all json files in here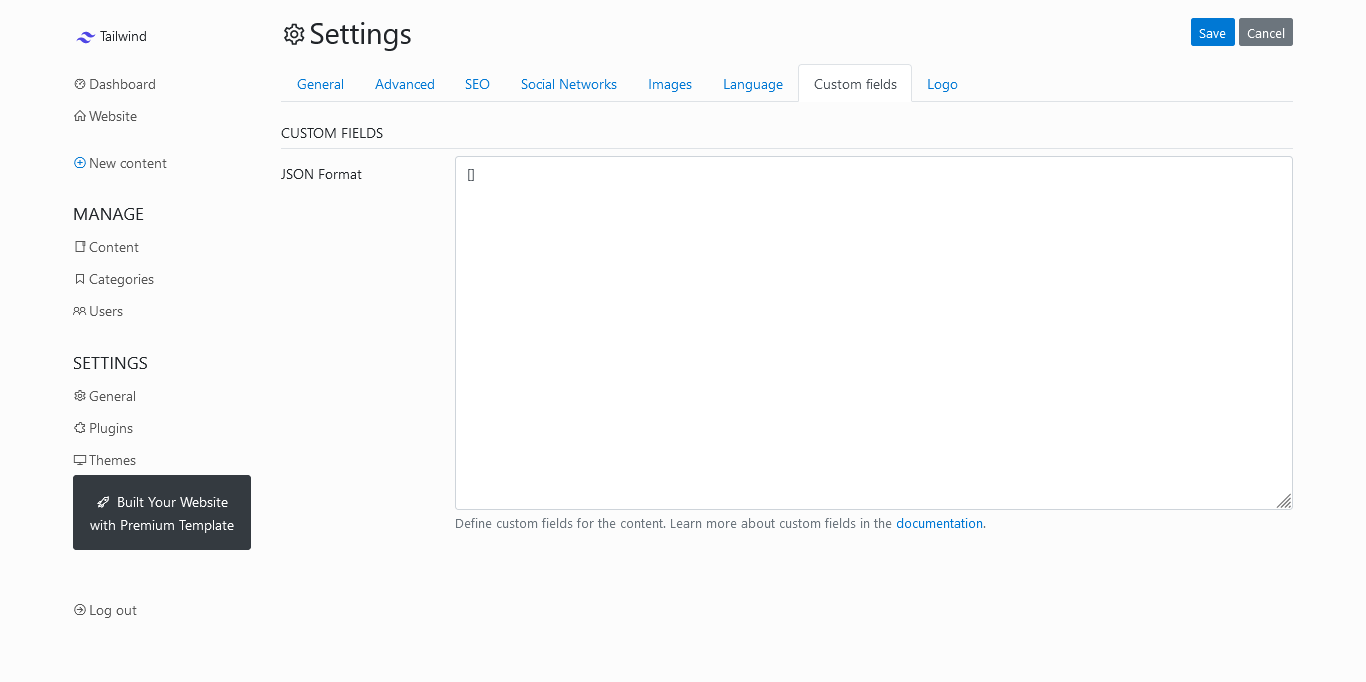
Back on admin dashboard bludit flatfile cms - click on settings and - click custom field tab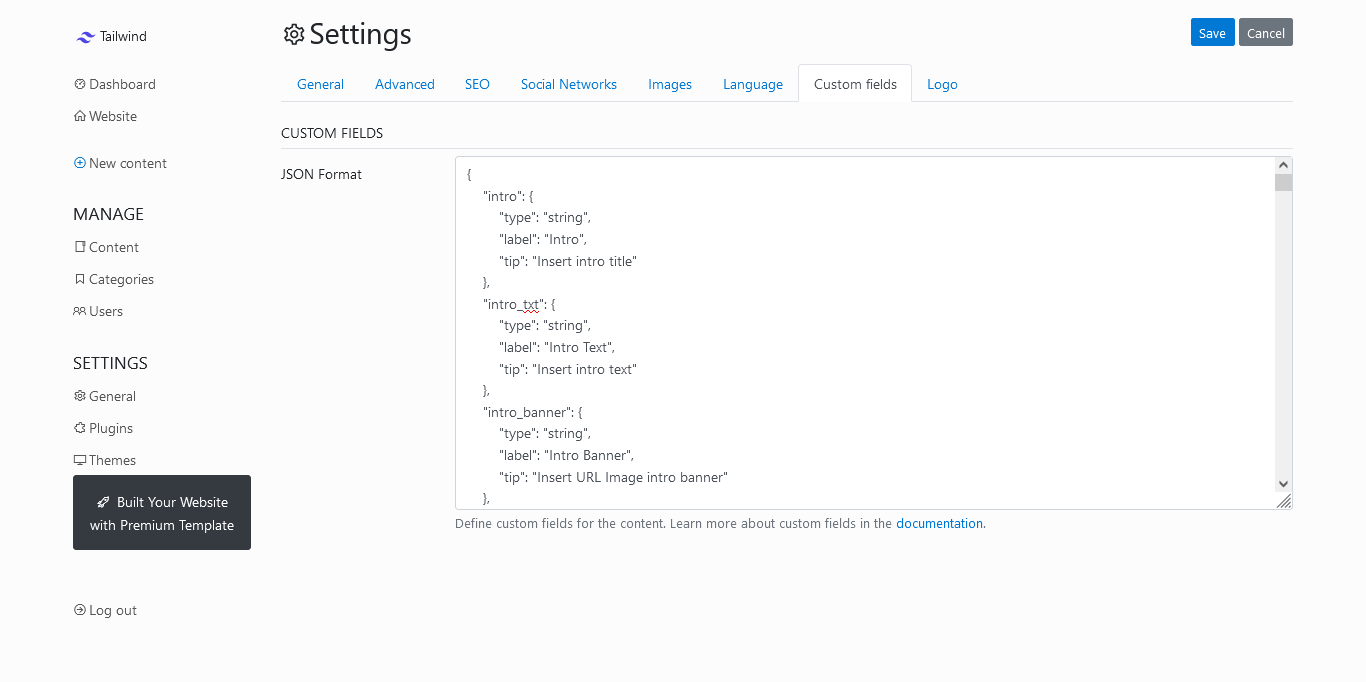
Now paste all code in here - look image for details.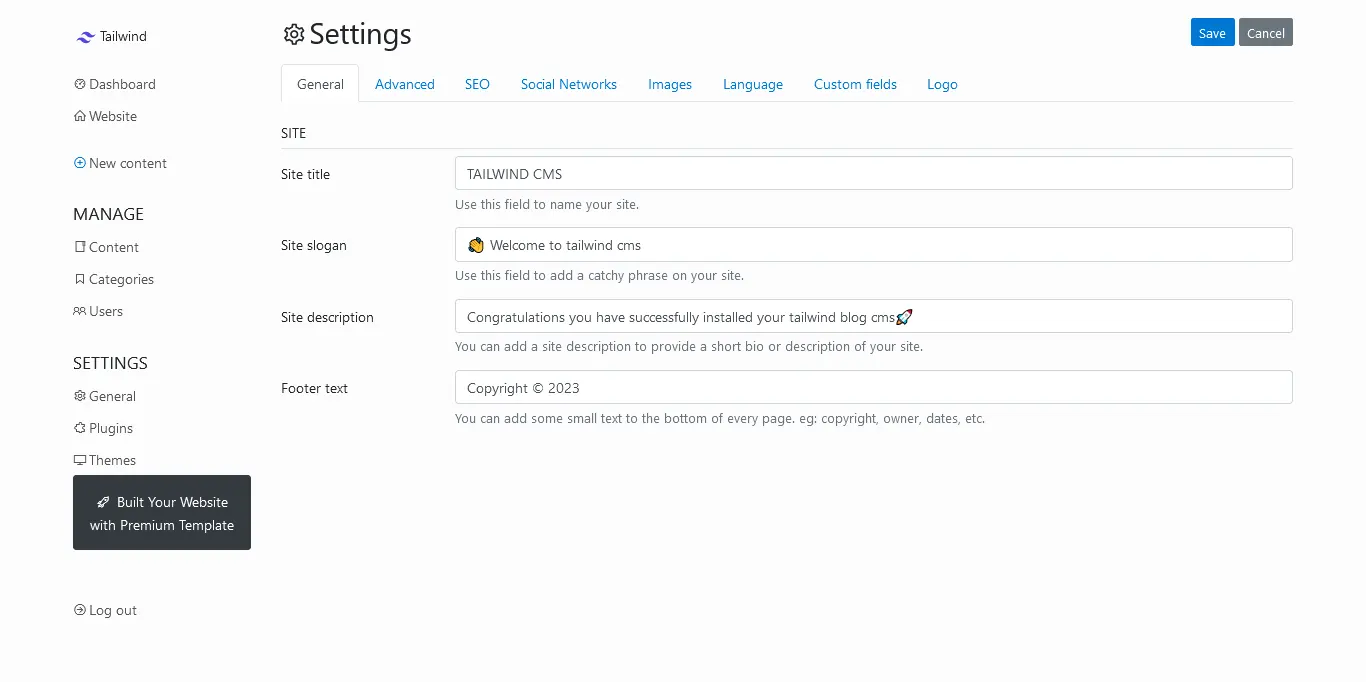
Okay now we need to settup your site like title and description so click on general tabs - and insert title description for your website, And you can change how content article you want to displaying on your home page , so you can click on advanced and change what you needed in here.you can also insert your social media link too...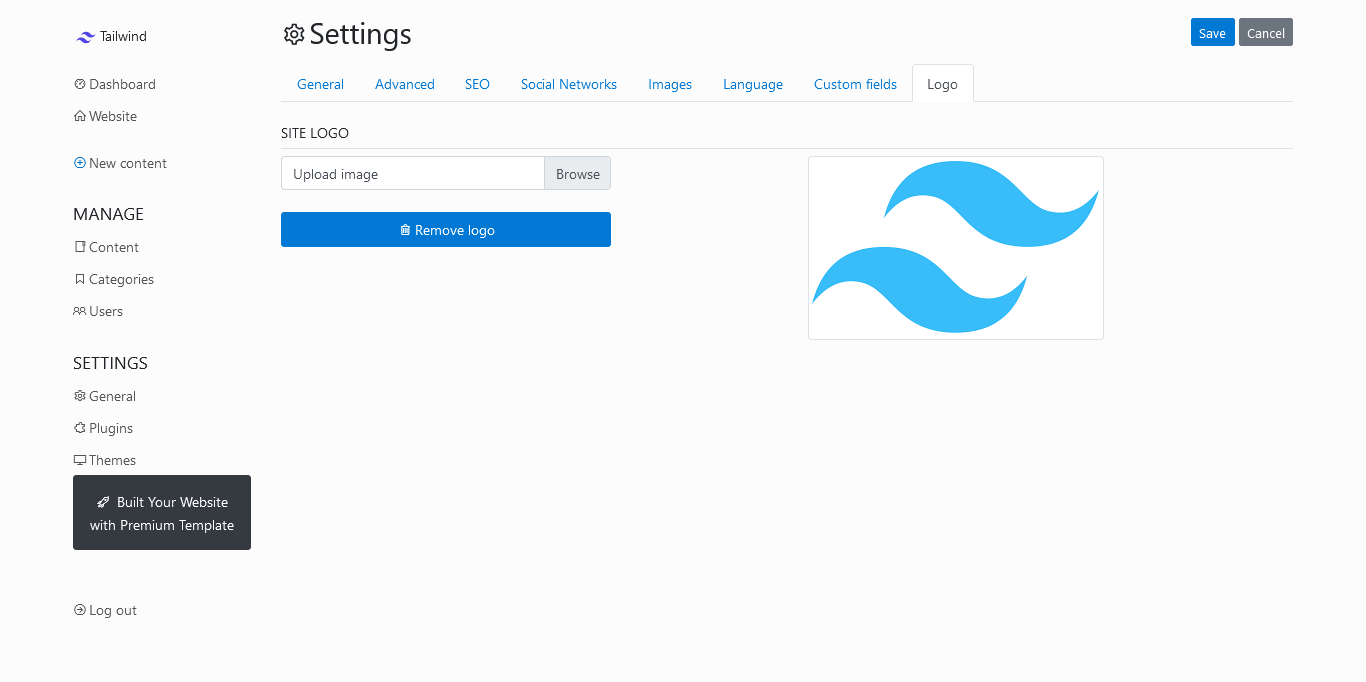
Now you need to upload logo for navbar area, so click on logo tabs and upload your logo, after you have settup website you can click save, for save your update.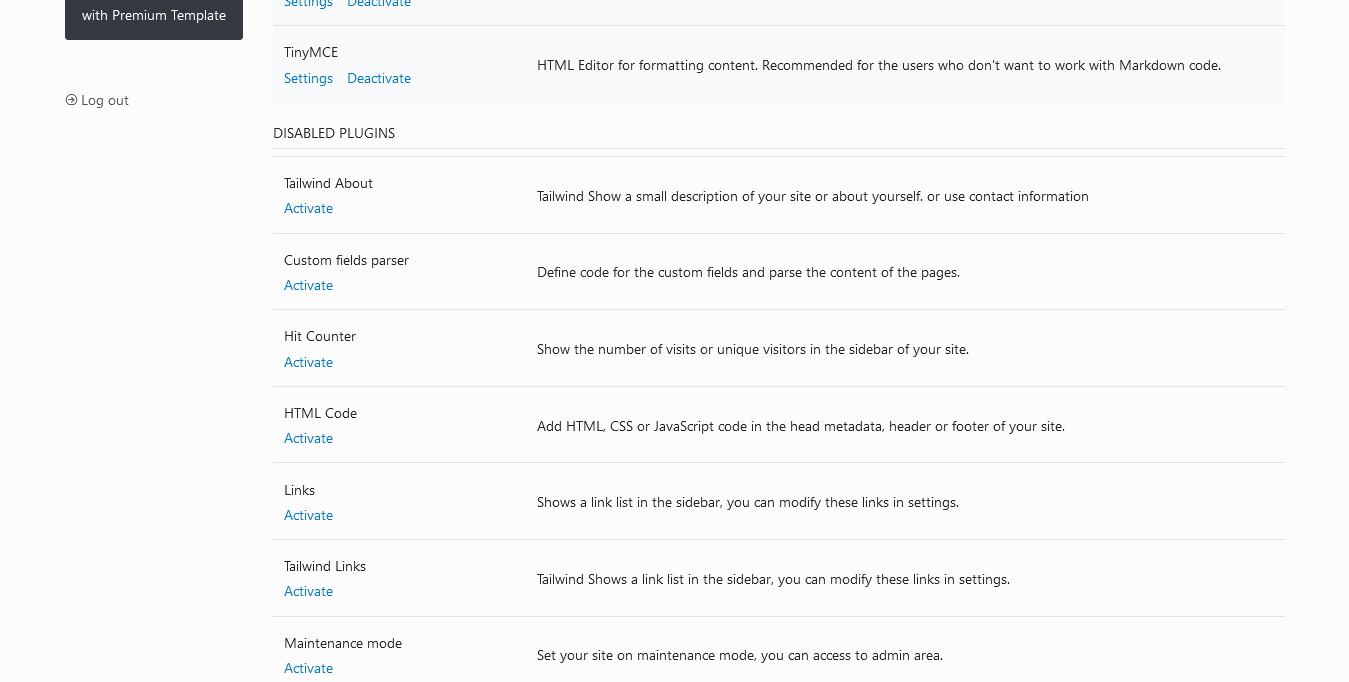
Settup plugins - now we need to settup plugins , so you can visit on settings - plugins - scroll down and see disable plugins, we need to click activate all tailwind plugins , after that for SEO needed, you can activate this plugins : SITEMAP - RSS - TWITTER CARD - OPEN GRAPH. and save it.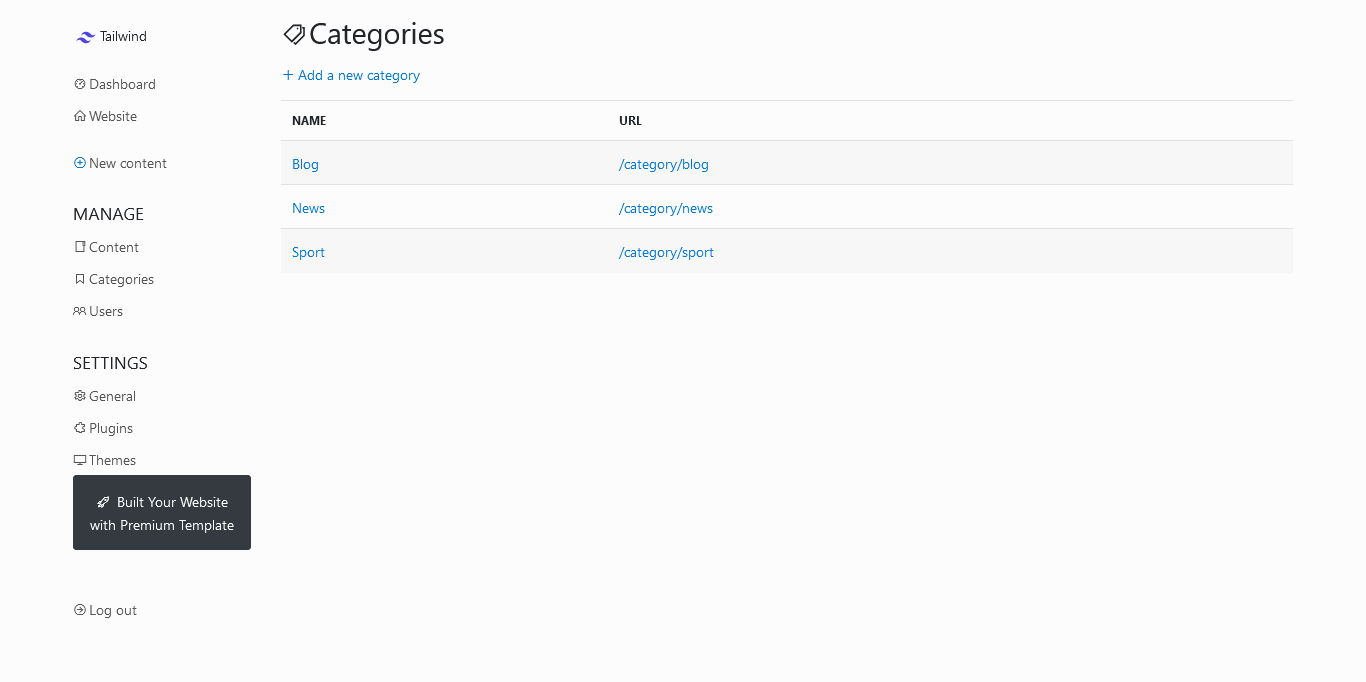
And now you are ready to write content article, but for first we need to create categories for grouping your article, so click on manage - categories and create new or edit categories in here.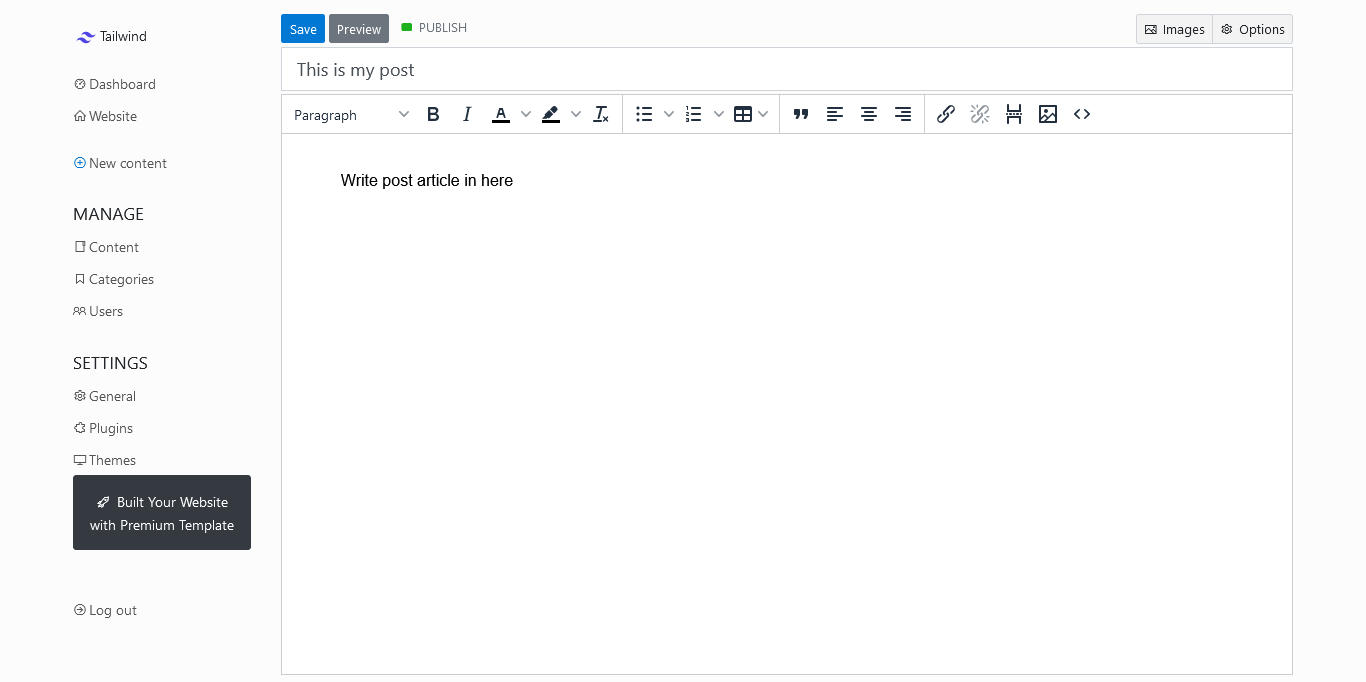
For create content article you can click on + New Content and write article in here. insert title and write content.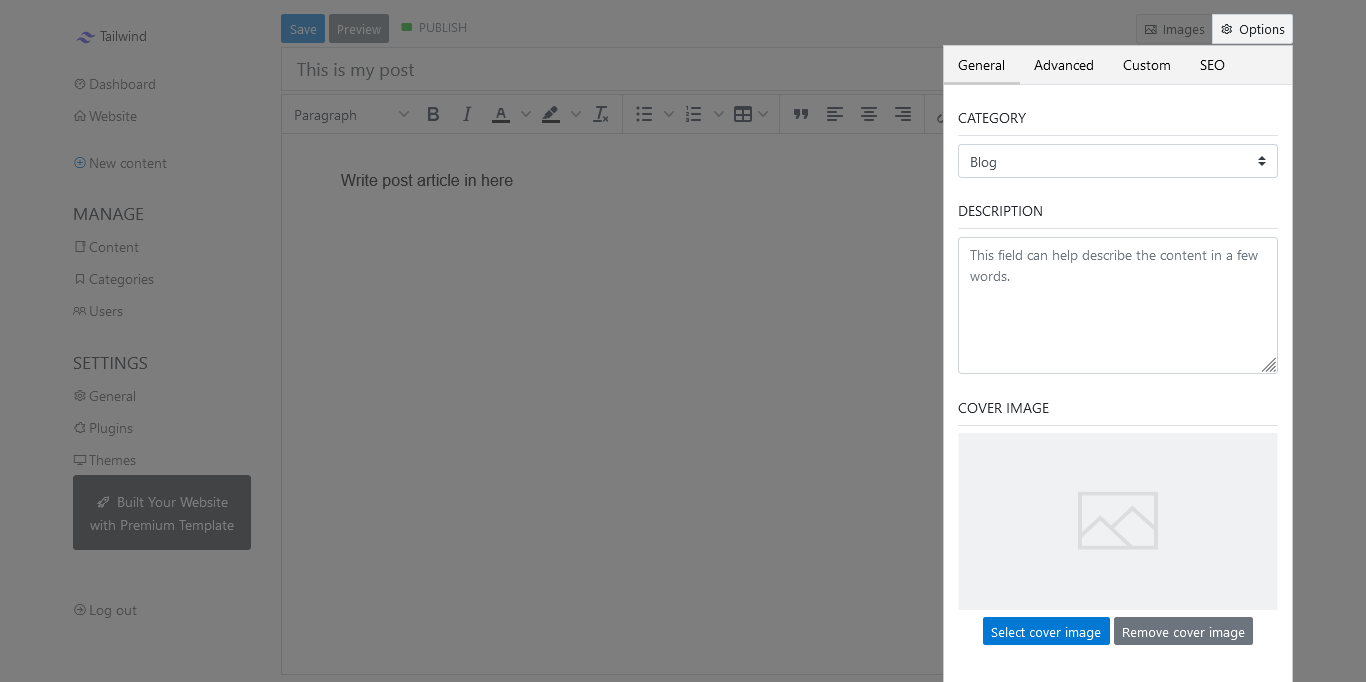
Then you can click options button on article form - general and insert description , upload your cover image and select group categories for your article.
Now click on advanced tab - and insert tag for your content article post, and you can select type default is for post blog, static is for page, and sticky is use for your home page design with landing page, so for first you need to create content article with type sticky , then you can click on custom tabs for design your landing page tailwind blog cms.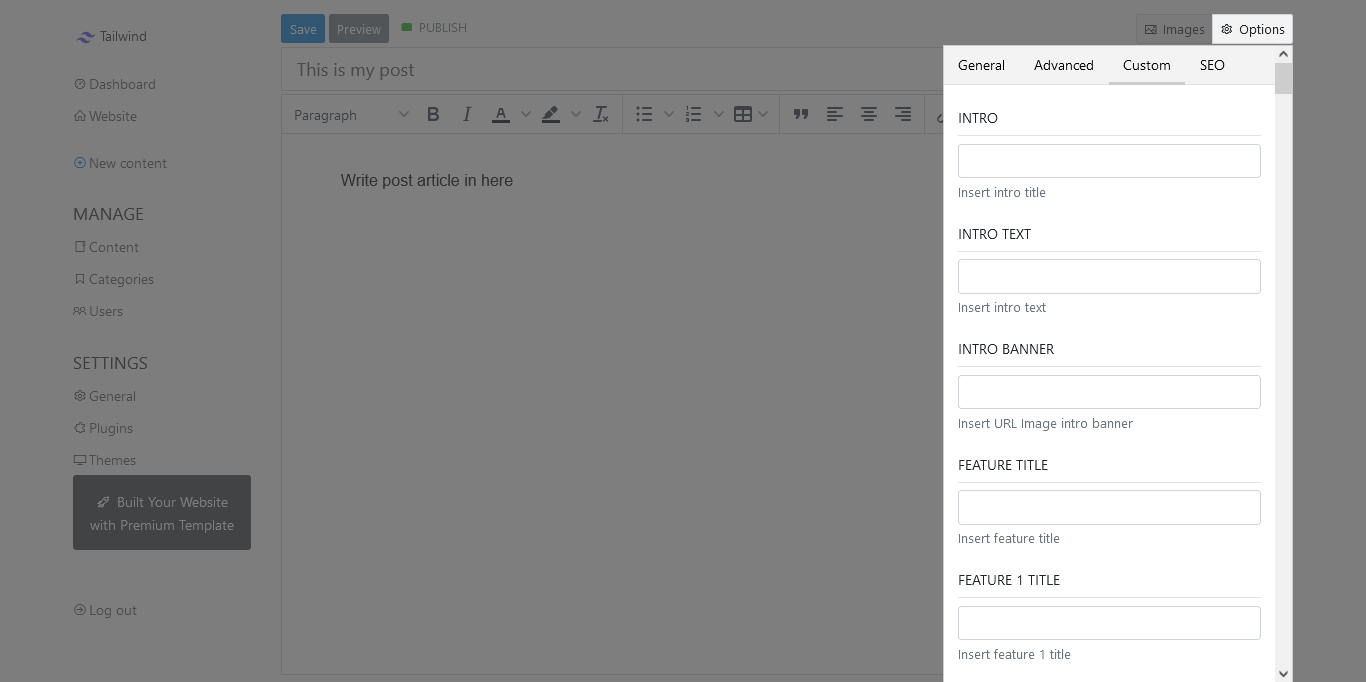
Click on custom tab and insert all in here like text and url image for design your landing page for home page area.
Don't forget to save it for update your site.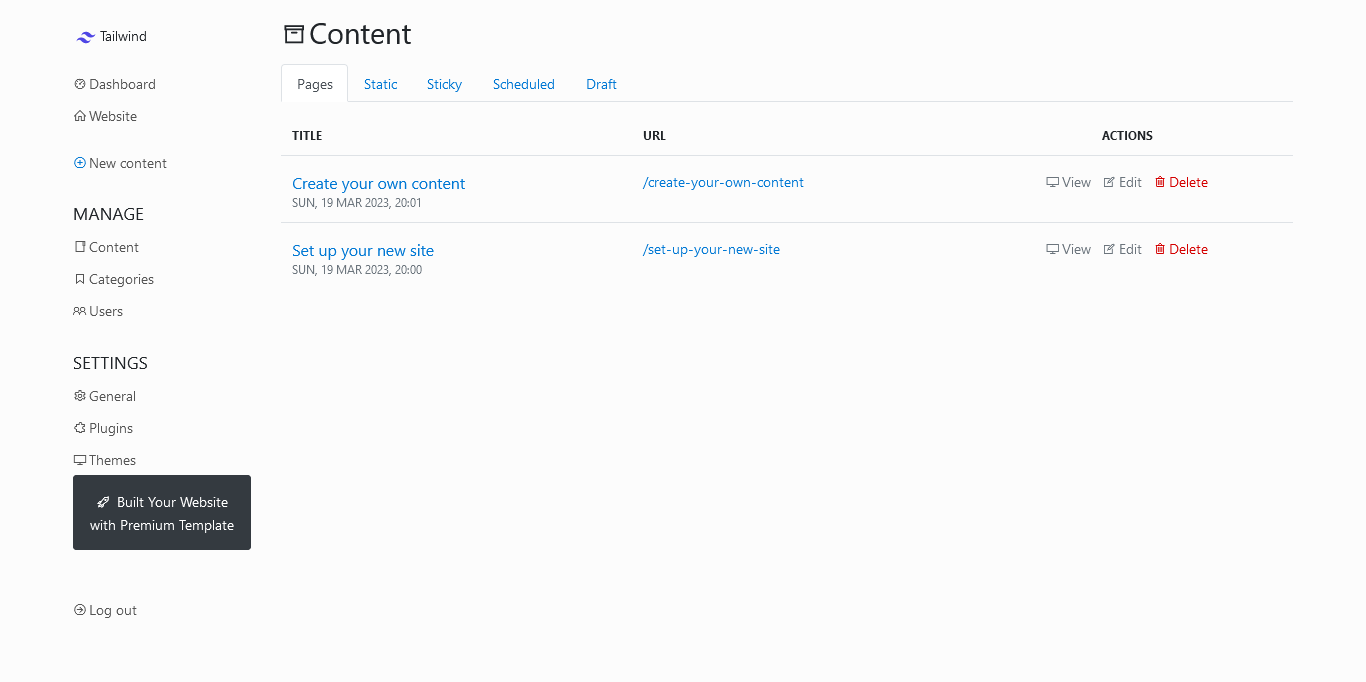
And if you need to edit or update and delete content so you can click on manage - content - and you can click on pages tab for all your blog post, switch tab to static if you need to update static page article, and click on sticky if you want to change your home page design.
Finish
That's it !! and your site is live with tailwind blog cms.
Watch Video
play and watch video tailwind blog bludit flatfile cms installation
Help & Support
If you need help so you can contact our team for help you install this project on your hosting site. Contact Us →